Step-By-Step Installation Guide for Wall-Mounted Split AC

When the scorching heat of a South West Florida, Texas, summer beats down on your home, having a reliable air conditioning system is not just a luxury—it’s a necessity. If you’re looking for a highly efficient, space-saving cooling solution, a wall-mounted split AC, often called a ductless mini split, could be the perfect fit for your home. At Rapid Response AC Services, we specialize in mini split installation that not only keeps your home cool but also complements the aesthetics of your living space.
Why Choose a Ductless Mini Split?
Before we dive into the installation process, it’s essential to understand why a ductless mini split installation is ideal for South West Florida, Texas, homes. These units offer zoned cooling, which means you can control the temperature in individual rooms, saving energy and lowering your electricity bills. Plus, without the need for ductwork, these systems are less invasive and more adaptable to older homes where installing ducts would be a significant hassle.
Finding the Right Mini Split Installation Company Near You
Choosing a reliable mini split installation company is crucial for ensuring that your unit performs efficiently and lasts for years to come. At Rapid Response AC Services, we pride ourselves on being the go-to mini split installation company near me for homeowners in South West Florida, Texas. With years of experience, we understand the unique cooling needs of our community and tailor our services accordingly.

Step-By-Step Guide to Installing a Wall-Mounted Split AC
Now, let’s get into the nitty-gritty of the installation process. While we always recommend professional installation for the best results, it’s helpful to know the steps involved.
1. Choosing the Location
Selecting the perfect spot for your indoor unit is crucial. You’ll want to pick a wall that is centrally located to ensure even cooling throughout the room. The wall should be sturdy enough to support the unit and free from obstructions that could impede airflow. In South West Florida, Texas, homes, where space might be tight, careful planning can make all the difference.
2. Mounting the Indoor Unit
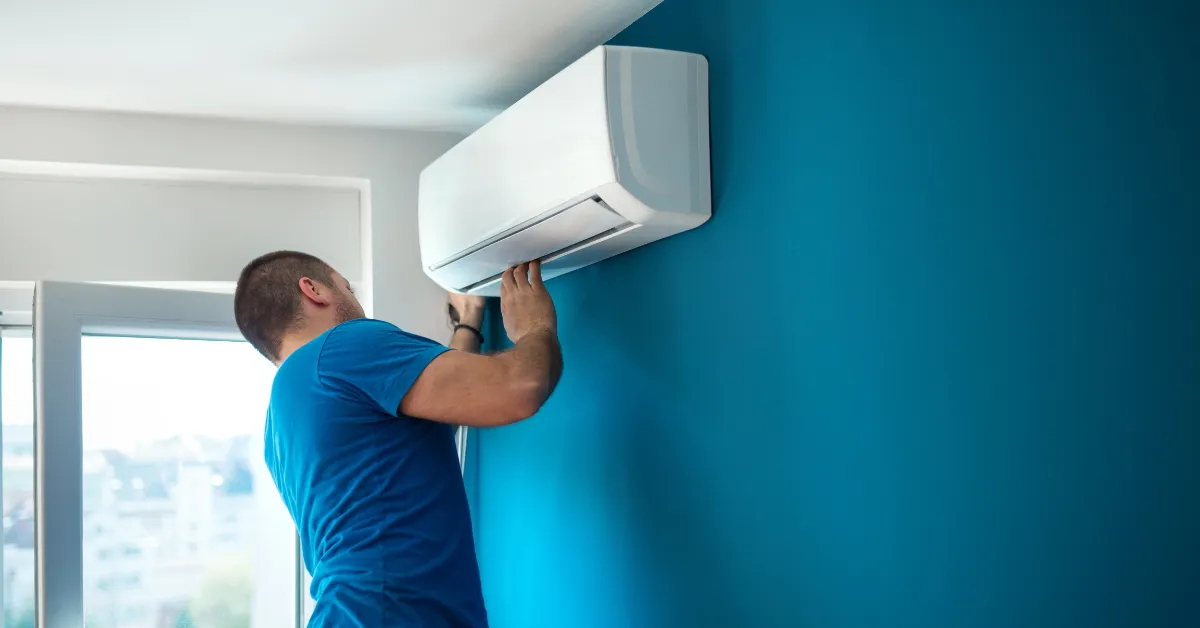
Once the location is set, the mounting plate is attached to the wall. Precision is key here—the plate must be level to avoid any operational issues. After securing the plate, the indoor unit is hung on it, and the fit is checked to ensure it’s snug and secure.
3. Drilling the Hole for the Piping
Next, a hole is drilled through the wall to the outside to accommodate the piping. This step requires accuracy, as the hole must be large enough for the pipes but not so large that it compromises the wall’s integrity. The exact angle and placement are essential to ensure that condensate drains properly and that the pipes connect seamlessly with the outdoor unit.
4. Connecting the Refrigerant Piping and Electrical Wiring
The indoor unit is connected to the outdoor unit via refrigerant piping and electrical wiring. The piping is insulated and runs through the hole in the wall, ensuring that the connection is airtight. The electrical wiring is equally important, requiring careful handling to ensure all connections are secure and safe.
5. Installing the Outdoor Unit
The outdoor unit is placed on a level surface, either on the ground or mounted on brackets on the exterior wall. In South West Florida, Texas, where the climate can be humid and salty, ensuring that the unit is off the ground can prevent corrosion and extend its lifespan.
6. Vacuuming the System
Before the system is charged with refrigerant, the lines are vacuumed to remove any air and moisture. This step is critical to the efficiency and longevity of the unit, as any contaminants in the lines can lead to operational problems.
7. Charging the System with Refrigerant
Once the vacuuming is complete, the system is charged with the appropriate amount of refrigerant. This step requires precision, as overcharging or undercharging can lead to inefficiency and potential damage to the unit.
8. Testing the System
Finally, the system is tested to ensure it’s working correctly. The thermostat is set to the desired temperature, and the unit is run through all of its modes to check for any issues. If everything checks out, your ductless mini split installation is complete!
Local Expertise You Can Trust
At Rapid Response AC Services, we don’t just install AC units—we bring comfort to your home. Our local knowledge of South West Florida, Texas, combined with our technical expertise, ensures that your mini split installation is done right the first time. Whether you’re searching for a mini split installation near me or need advice on the best unit for your home, we’re here to help.
Conclusion
Installing a wall-mounted split AC is a complex process that requires precision and expertise. While this guide provides an overview, the best way to ensure your system operates efficiently is to hire a professional mini split installation company like Rapid Response AC Services. We are committed to delivering top-notch service that meets the unique needs of homes in South West Florida, Texas.
Don’t let the heat get the better of you—contact us today to schedule your ductless mini split installation and enjoy a cooler, more comfortable home.
